As the popularity of cannabis skyrockets, consumers are finding more innovative ways to consume the products they love.
In recent years, dabbing has become a popular consumption method for novice and seasoned smokers alike. But traditional dabbing involves a lot of setup. You need a rig, nail, blowtorch, carb cap, and all kinds of other accessories.
The overinvolved process of traditional dabbing can turn some people off. Fortunately, a wax vaporizer makes the process much easier and more convenient. That’s why we put together this step-by-step guide for using and enjoying wax vaporizers of every kind.
So read on!
Different Types of Wax Vaporizers
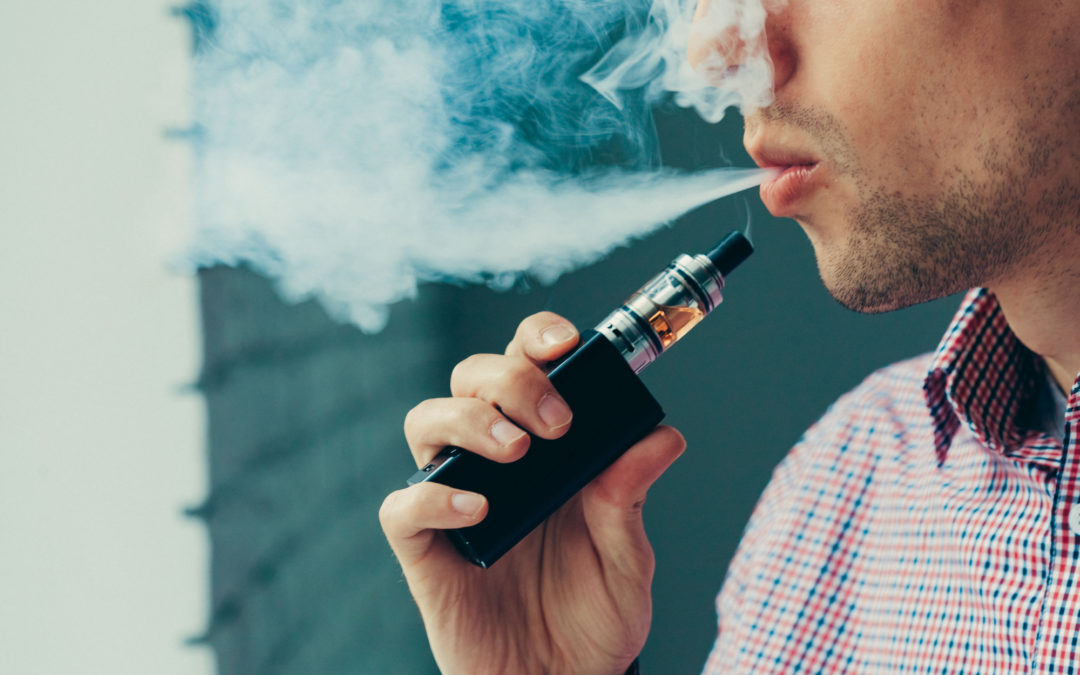
So what exactly is a wax vaporizer? It is a small vaporizer that is typically about the size of a pen. They are sometimes called wax pens or wax vape pens.
A wax vape pen uses a conduction or convection system to heat a coil, also referred to as a nail. There are a few different coil options, including dual rod quart, titanium coils, and ceramic coils.
When using a wax vaporizer, cannabis wax or concentrate is placed on the coil. The dabbing device heats the coil to a high temperature. This causes the wax to quickly melt and produce vapour, which the consumer then inhales.
There are two main types of wax vaporizers: vape pens and e-nails.
A wax dab pen is a small vertical device that is about the size of a pen. They come in many different styles and sizes.
An e-nail, short for electronic nail, is a larger dabbing device connected to a battery or other power source. These devices are generally closer to the size of traditional dab rigs.
With both types of devices, the battery or power source delivers heat to the nail instead of a traditional blowtorch. This allows consumers to precisely regulate the coil’s temperature, providing a more consistent and balanced smoking experience.
Step 1: Preparing Your Wax
No matter what kind of device you’re using, the first step of using a wax vaporizer is preparing the wax itself.
Wax comes in many different forms. Live resin, budder, and sugar wax are all soft and pliable concentrates with the consistency of, well, wax.
Crumble wax has a more malleable texture that falls apart or crumbles when handled. Shatter is a brittle extract with a glassy appearance and breaks or shatters like glass when snapped in two.
These two types of concentrates are favoured by dabbing enthusiasts but can be a bit hard to smoke in a wax vaporizer. Handle them with extra care.
Regardless of what type of wax you use, you need to store it in an airtight silicone or glass jar. Store your wax containers in a cool, dark place. Wax is susceptible to light, temperature, and air supply changes, so keep those qualities as consistent as possible.
Once it’s time to use the wax, you’ll need a dab tool to scoop it out of its container and deposit it on the coil. Most wax vaporizer kits include dab tools, but it’s always worth buying an extra in case you lose one.
Step 2: Selecting the Right Temperature or Voltage
The first step of using a wax vaporizer is turning it on and selecting the correct temperature or voltage setting. Vapes will have either temperature or voltage settings. Higher voltage means higher temperatures.
Wax dab pens typically have three or four voltage settings to choose from. Some pens and e-nails have precise temperature selection to select the exact temp you need.
If it’s your first time using a wax vaporizer, select a lower voltage setting or a temperature between 315°F to 450°F. As you acclimate to dabbing, you can experiment with higher or lower settings.
Eventually, you will develop a preference for either high or low temperatures. Low temps are better for flavour and are safer. High temps are better for higher intensity and cloud production.
Step 3: Loading the Chamber
After your dab pen is on, the next step is loading the chamber with wax.
First, take the cap or mouthpiece off of the nail. Then, use your dab tool to scoop up a small piece of wax. Finally, transfer the wax from the dab tool to the coil.
Be gentle when depositing your wax, as poking the coil too hard can break it. This can also happen if your coil is too worn down or fragile. Dab coils are disposable, so it’s essential to replace them occasionally before they break.
Once the wax has been deposited, replace the cap or mouthpiece. If the coil is already hot, you can inhale the vapour immediately. If you’re doing a cold start dab, wait a few seconds for the wax to melt, then inhale.
Step 4: Smoking From Your Wax Vaporizer
Once the wax starts melting, it will vaporize right away. Don’t take a big hit right away like you’re smoking flower. Take a slow, short hit from the mouthpiece, inhaling with your diaphragm.
After your first hit, check the chamber to see what’s left. Gently scrape any remaining wax off the sides and walls and apply it to the coil. At this point, the coil will be wet and waxy, so it should give you a bigger hit.
Our most significant piece of wax vaping advice is to start with a small dosage and wait an hour to see how you feel. Go slow, especially if it’s your first time. Remember, you can always smoke more later for increased effects.
Shop Wax Vaporizers Today
A wax vaporizer is an easy, convenient way to enjoy your favourite concentrates. It eliminates the elaborate setup of traditional dabbing so that you can get back to enjoying your sesh.
If you’re ready to elevate yourself to the next level of dabbing, shop our full line of wax vaporizers today.